
Why Host Your Own AI?
If you’re anything like me, you’re reading this because you’re curious about how to host your own local AI. When I first told friends I was working on this, the most common response was: “Why?” And honestly? There are a few reasons.
First, I wanted to prove to myself that I could. That’s often reason enough to start any project. But beyond that, I noticed AI becoming a bigger part of my work life. My company is embracing it more and more, and I’m frequently talking to customers about AI use cases. So it made sense to dig deeper and understand it firsthand.
The obvious options were:
- Use the company’s internal tools (which offer little control or learning opportunity), or
- Pay for a major cloud AI platform—trading money and data privacy in the process.
Then I stumbled upon a third option—one I kept seeing mentioned in the homelab community: host it myself. I had enough gear to make it happen. And while my setup was limited, those constraints were part of the appeal. Constraints push you to learn. So, it became a challenge. A puzzle. And a really fun one at that.
Now I’m sharing the results here, hoping this write-up helps someone else explore, learn, or get inspired to do the same.
What Do You Actually Need?
With the goal clear—run a local AI model effectively on modest hardware—it’s time to look at the setup. My environment includes:
- A Proxmox cluster with high availability (HA)
- A small AMD mini PC acting as a host VM (no GPU for now)
Eventually I may move this to a dedicated host with a P40 GPU, but I started with what I had. The question was: what could I run on this setup?
Like many, I watched a few excellent videos (especially Network Chuck “host all your AI locally”) but his instructions didn’t map cleanly to my hardware or virtualized cluster. So I had to do a bit of digging.
Thankfully, I found a helpful write-up on hardware requirements by Zack Saadioui: Hardware Requirements for Running Ollama. That gave me the confidence to move forward, build a VM, and jump into the install process.
What Got in the Way?
Let’s be real—any good homelab project comes with a few speed bumps.
I wanted the most efficient setup possible, so I spun up an Ubuntu Server VM, installed Docker, and planned to run both Ollama and Open WebUI as containers.
This raised some familiar Docker pain points (hello, container networking!), but Portainer made it easier to manage and monitor everything—plus it was already running in my lab.
Bonus challenge: I wanted remote access.
For that, I had two solid options. I already used Tailscale (VPN/tailnet) and had Cloudflare in my environment for DNS, tunneling, and HTTPS termination. After weighing the pros and cons, I decided to roll with Cloudflare and a custom subdomain for remote access.
Tools Used
Here are the key ingredients in this build:
Ubuntu Server
Docker
Ollama
Open WebUI
Portainer
Tailscale
Cloudflare
Proxmox
Let’s Get Building
Time to dive in. I’ll walk you through each step of the setup—explaining both the “how” and the “why.” Whether you’re brand new to this or a seasoned self-hoster, I’ve tried to make this guide beginner-friendly and skippable where needed.
Note: I’m not covering how to install Proxmox here. Their docs and the community videos below do a great job:
Roadmap
Here’s what we’ll cover:
- Creating a VM
- Installing Ubuntu Server
- Installing Docker
- Installing Portainer
- Install Ollama + Open WebUI
- Optional: Secure Access Anywhere with Cloudflare
- So Now What?
Creating a VM
I’m using my Proxmox cluster for this setup. For my particular build, I allocated:
- 12 cores
- 32 GB of RAM
- 200 GB of storage
That should give me enough room to run a few containers, store chat history, and maybe even do some light Retrieval-Augmented Generation (RAG) later on.
If you’re using a different virtualization platform—VirtualBox, VMware, Hyper-V—the steps will feel very familiar. Most hypervisors have roughly the same workflow and settings, so feel free to adapt this guide to fit your tooling.
Let’s walk through the key setup steps in Proxmox (with plenty of screenshots to guide you along the way):
Step-by-Step Configuration
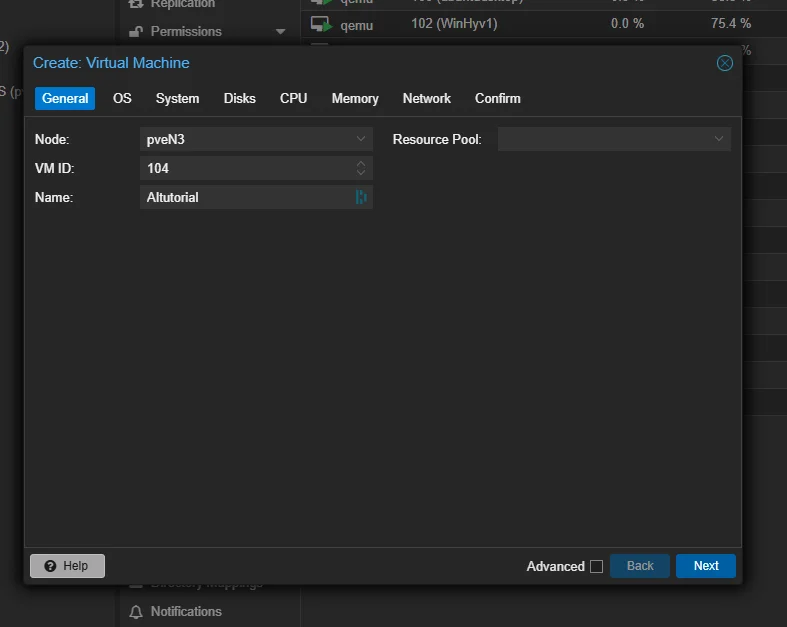
- Give the VM a name
Start by naming your new virtual machine.
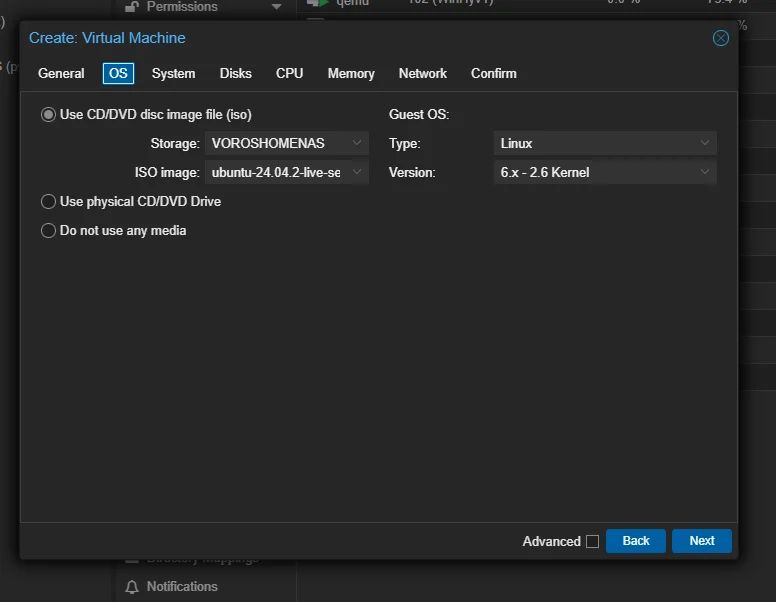
- Choose your operating system and ISO image
I’m using Ubuntu Server, so here I select the ISO I uploaded earlier.
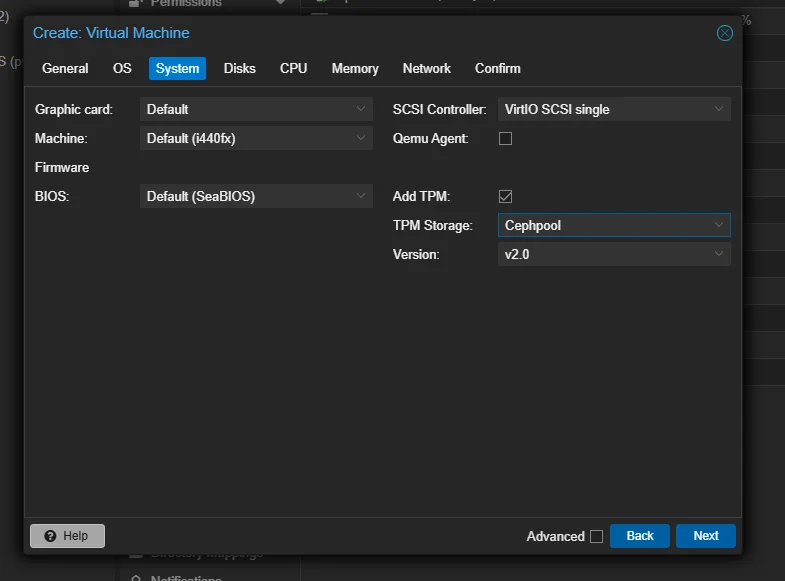
- Configure basic settings (do you want TPM?)
Here you define some foundational settings—things like BIOS type and whether to use a Trusted Platform Module (TPM).
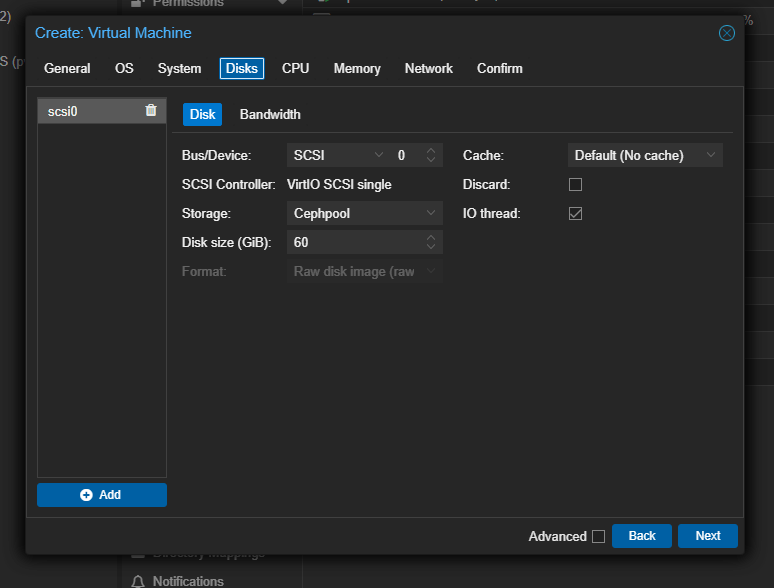
- Select your storage
Use fast, local disks if you’ve got them. In my case, I’m running Ceph-backed NVMe storage through Proxmox, which keeps things snappy.
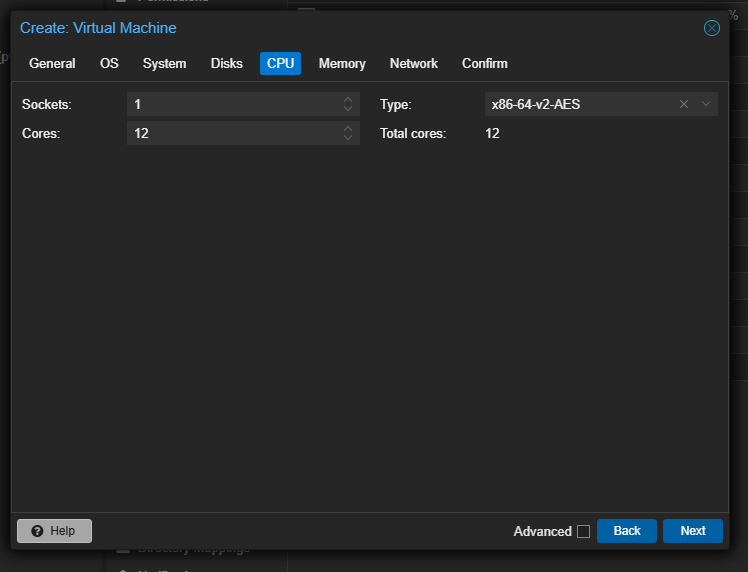
- Assign CPU resources
Set your number of sockets and cores. The more you can allocate, the snappier your container performance will be (within reason).
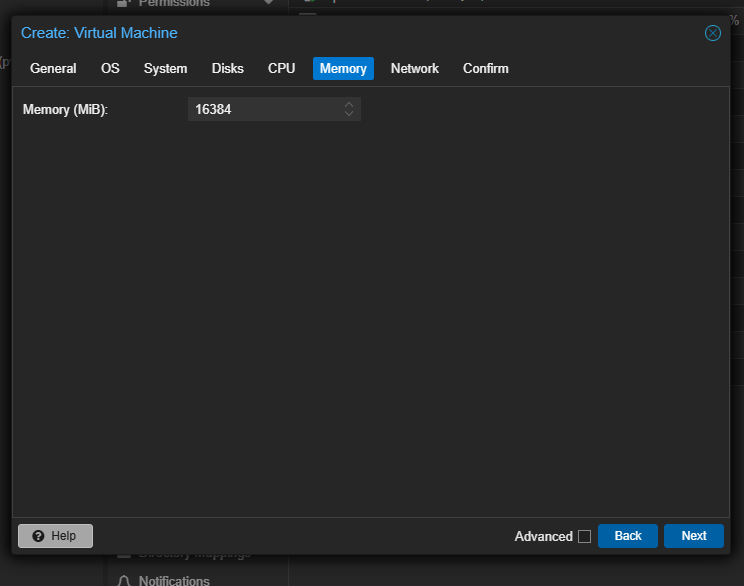
- Assign memory
Give it enough to breathe. Docker and Ollama aren’t lightweights, so plan accordingly.
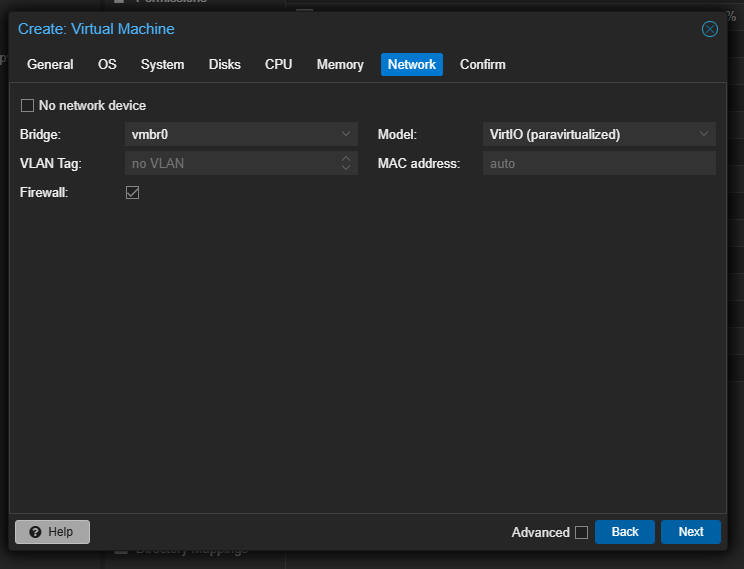
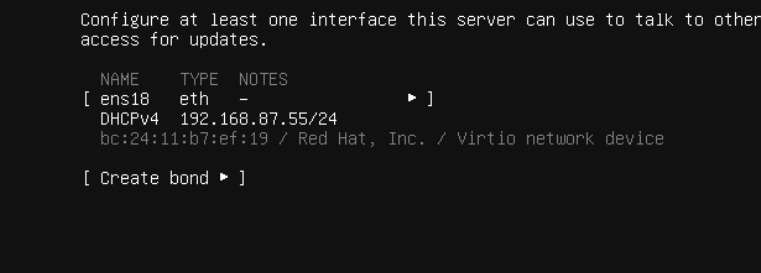
- Configure networking
Bridge your VM to your LAN so it can reach the outside world (and your other services).
Once all that’s done, finish creating the VM and boot it up—you’re ready to install the OS.
Installing Ubuntu Server
Ubuntu already has a solid step-by-step guide for server installations here: Install Ubuntu Server,so I won’t reinvent the wheel. But I’ll highlight a few specific recommendations that helped me, especially when prepping for remote access.
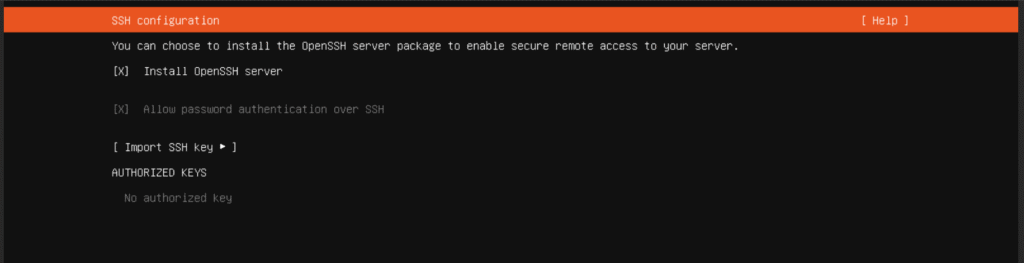
SSH Access Is Your Best Friend
During installation (around Step 13), Ubuntu will ask whether you want to install OpenSSH:
Install SSH during setup
I highly recommend enabling SSH. It makes life infinitely easier—copying commands, navigating the CLI, managing from your main machine, etc. Not all hypervisor console windows (including Proxmox) support copy-paste or function keys well, so this step is totally worth it.
Later in the setup, you’ll be prompted to install additional software packages. You can skip most of those for now unless you have a specific use case in mind
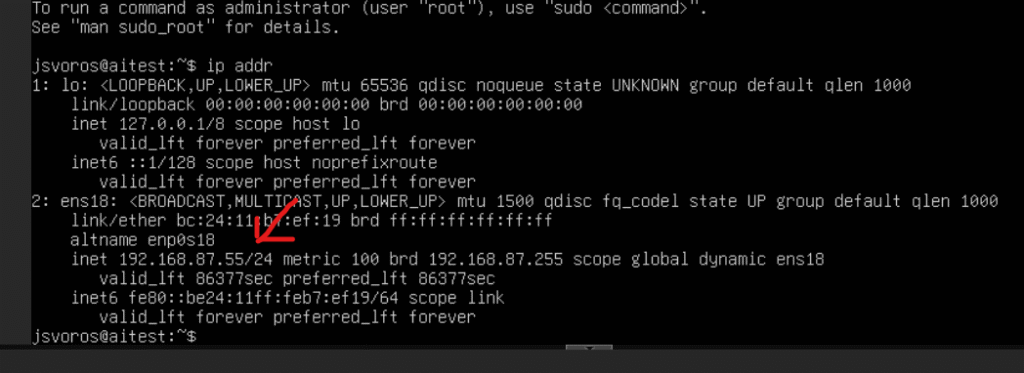
Find Your VM’s IP Address
Once the setup completes, you’ll need the server’s IP address to connect over SSH. You might’ve seen it flash by during the install:
IP shown at setup
If not, just log into the server’s console and run:
ip addrLook for the address that matches your network subnet (likely under eth0 or enpXsY, depending on your setup):
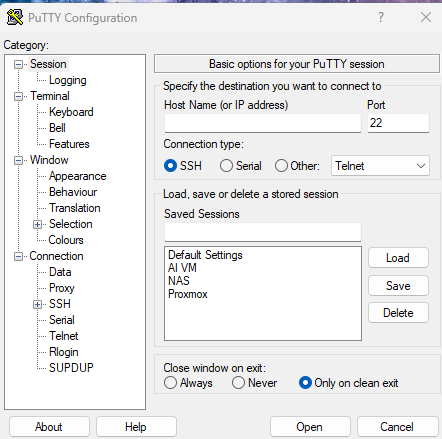
Connect via SSH
Now that you’ve got the IP, it’s time to connect remotely. I’m on Windows, so I use PuTTY—but any SSH client will work. Just plug in your server’s IP and click Open:
Login using the credentials you set during Ubuntu installation:
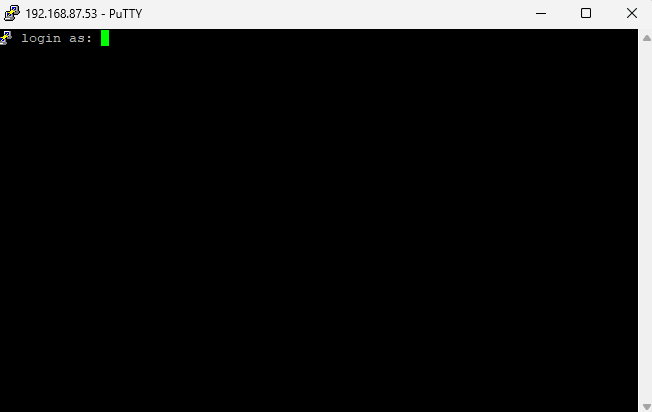
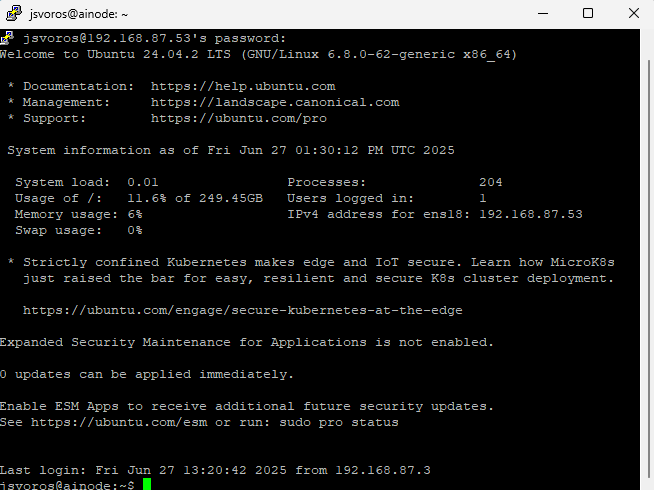
Successful login
Boom—you now have remote terminal access to your Ubuntu server.
Installing Docker
Next up: Docker. We’re about to containerize our setup, and that starts with installing Docker on Ubuntu. I’m borrowing steps from this excellent Digital Ocean guide, with slight tweaks for our context.
Step 1: Update Your System
First, let’s make sure Ubuntu is up to date. Run the following, one at a time:
sudo apt updatesudo apt upgradeWhen prompted, press y to confirm and let it finish updating
Step 2: Install Prerequisite Packages
Now we’ll grab a few packages Docker depends on:
sudo apt install apt-transport-https ca-certificates curl software-properties-commonStep 3: Add Docker’s GPG Key
We’ll now add Docker’s official GPG key so we can verify their packages
curl -fsSL https://download.docker.com/linux/ubuntu/gpg | sudo gpg --dearmor -o /usr/share/keyrings/docker-archive-keyring.gpgStep 4: Add the Docker Repository
Let’s add the Docker repository to our APT sources list:
echo "deb [arch=$(dpkg --print-architecture) signed-by=/usr/share/keyrings/docker-archive-keyring.gpg] https://download.docker.com/linux/ubuntu $(lsb_release -cs) stable" | sudo tee /etc/apt/sources.list.d/docker.list > /dev/nullThen update APT again to recognize it:
sudo apt updateStep 5: Verify We’re Pulling from Docker (Not Ubuntu)
Run this to make sure APT sees the official Docker packages
apt-cache policy docker-ceYou should see output like this:
docker-ce:
  Installed: (none)
  Candidate: 5:20.10.14~3-0~ubuntu-jammy
  Version table:
     5:20.10.14~3-0~ubuntu-jammy 500
        500 https://download.docker.com/linux/ubuntu jammy/stable amd64 Packages
     5:20.10.13~3-0~ubuntu-jammy 500
        500 https://download.docker.com/linux/ubuntu jammy/stable amd64 Packages
If the candidate is from docker.com, you’re good to go.
Step 6: Install Docker
Now install Docker itself:
sudo apt install docker-ceStep 7: Verify Docker is Running
Check Docker’s status to confirm it installed correctly
sudo systemctl status dockerYou should see something like this:
Output
● docker.service - Docker Application Container Engine
     Loaded: loaded (/lib/systemd/system/docker.service; enabled; vendor preset: enabled)
     Active: active (running) since Fri 2022-04-01 21:30:25 UTC; 22s ago
TriggeredBy: ● docker.socket
       Docs: https://docs.docker.com
   Main PID: 7854 (dockerd)
      Tasks: 7
     Memory: 38.3M
        CPU: 340ms
     CGroup: /system.slice/docker.service
             └─7854 /usr/bin/dockerd -H fd:// --containerd=/run/containerd/containerd.sock
Press q to exit the status screen.
Nice job—you now have Docker installed and ready to go. Up next: adding a user-friendly UI to manage your containers. Let’s install Portainer.
Installing Portainer
Now that Docker’s up and running, let’s layer in a UI to manage containers more easily. Enter: Portainer.
If you haven’t already installed it, their official guide is excellent: Install Portainer BE with Docker on Linux. I’ll walk you through the essentials here—with a few side notes and screenshots to keep things moving.
Deployment
Start by creating a Docker volume for Portainer’s persistent data:
sudo docker volume create portainer_dataThen pull and run the Portainer container itself:
sudo docker run -d -p 8000:8000 -p 9443:9443 --name portainer --restart=always -v /var/run/docker.sock:/var/run/docker.sock -v portainer_data:/data portainer/portainer-ee:ltsBy default, this enables HTTPS on port 9443 with a self-signed certificate. You’ll probably get a browser warning the first time you visit—don’t worry, that’s expected unless you upload a custom cert at install time or through the UI later.
If you want to expose Portainer over HTTP (9000) for compatibility reasons, just add:
-p 9000:9000
Want to confirm it deployed? Run sudo docker ps:
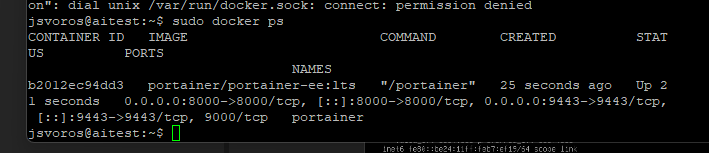

You should see portainer listed and running:
First Login
Time to test it in the browser. Navigate to:
https://localhost:9443Swap in your IP address or hostname. The initial setup screen will greet you with a prompt to create the admin user:
You will be presented with the initial setup page for Portainer Server.
Creating the first user
Choose a strong password (minimum 12 characters). Username defaults to admin, but you can change it.

Enable Usage Stats (Optional)
You’ll be asked whether to enable anonymous usage reporting via Matomo It’s up to you, and you can always toggle it later under Settings → General:

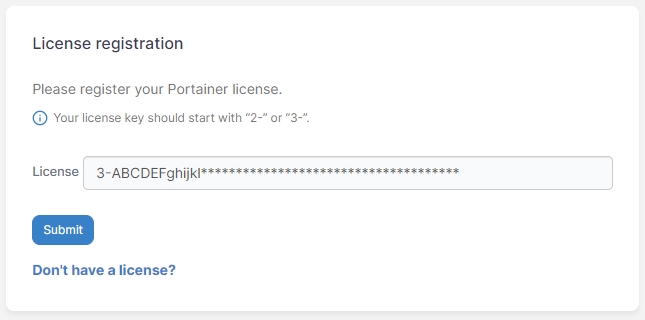
Apply a License Key
Next, you’ll be prompted for a license key. If you’ve signed up for the free Business Edition (includes up to 3 nodes), you’ll already have one. If not, click the “Don’t have a license?” link and follow the flow.
Once you’ve got it, paste it in and click Submit:
Connecting Your Environment
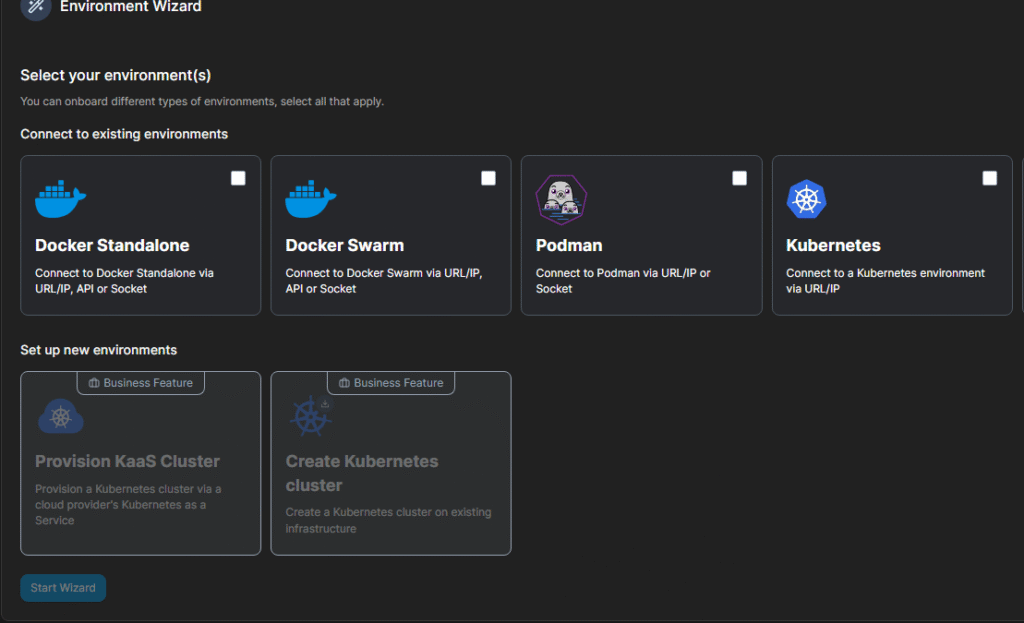
After the admin account is created, Portainer’s Environment Wizard will walk you through connecting to your Docker instance:
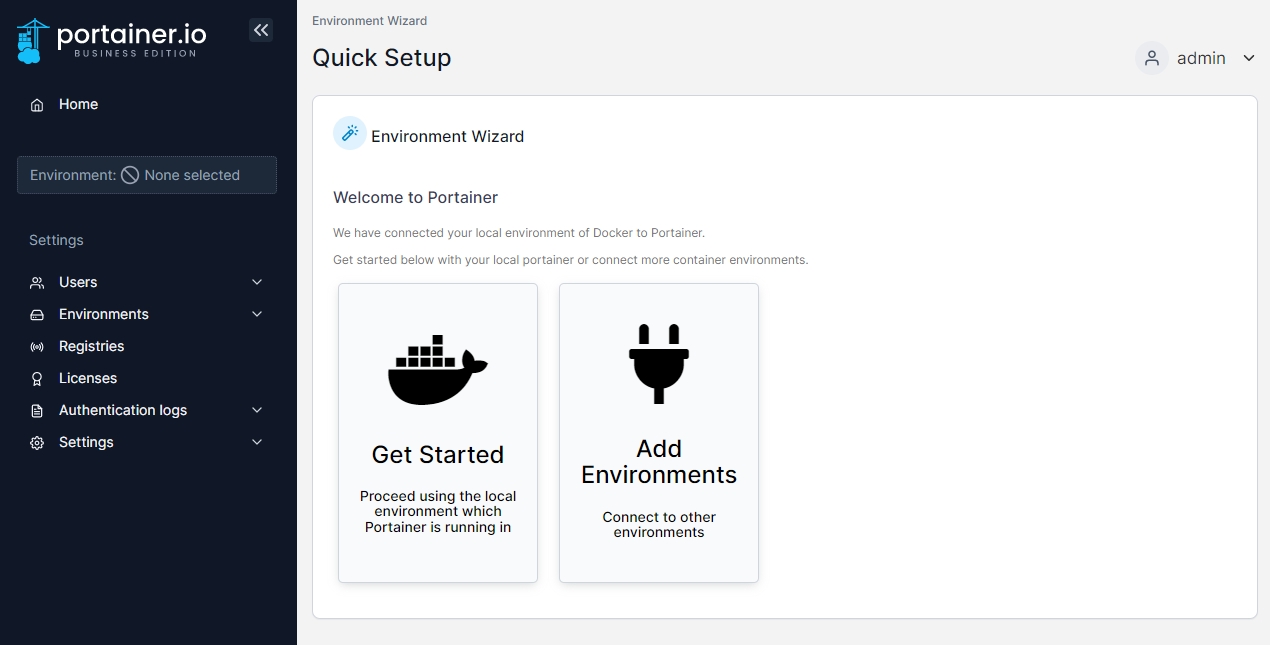
For most setups, it’ll auto-detect and connect locally. If you’re managing multiple environments, just click Add Environments later on.
Already using Portainer somewhere else? You can easily add another target:
- Navigate to Environments
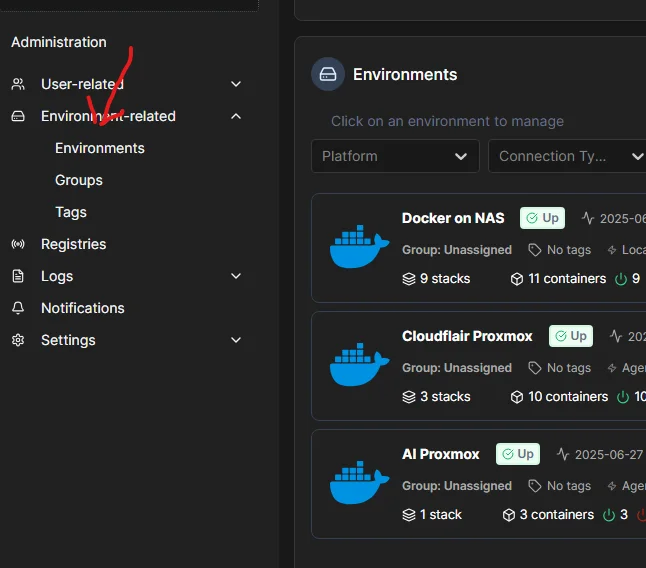
- Click Add Environment

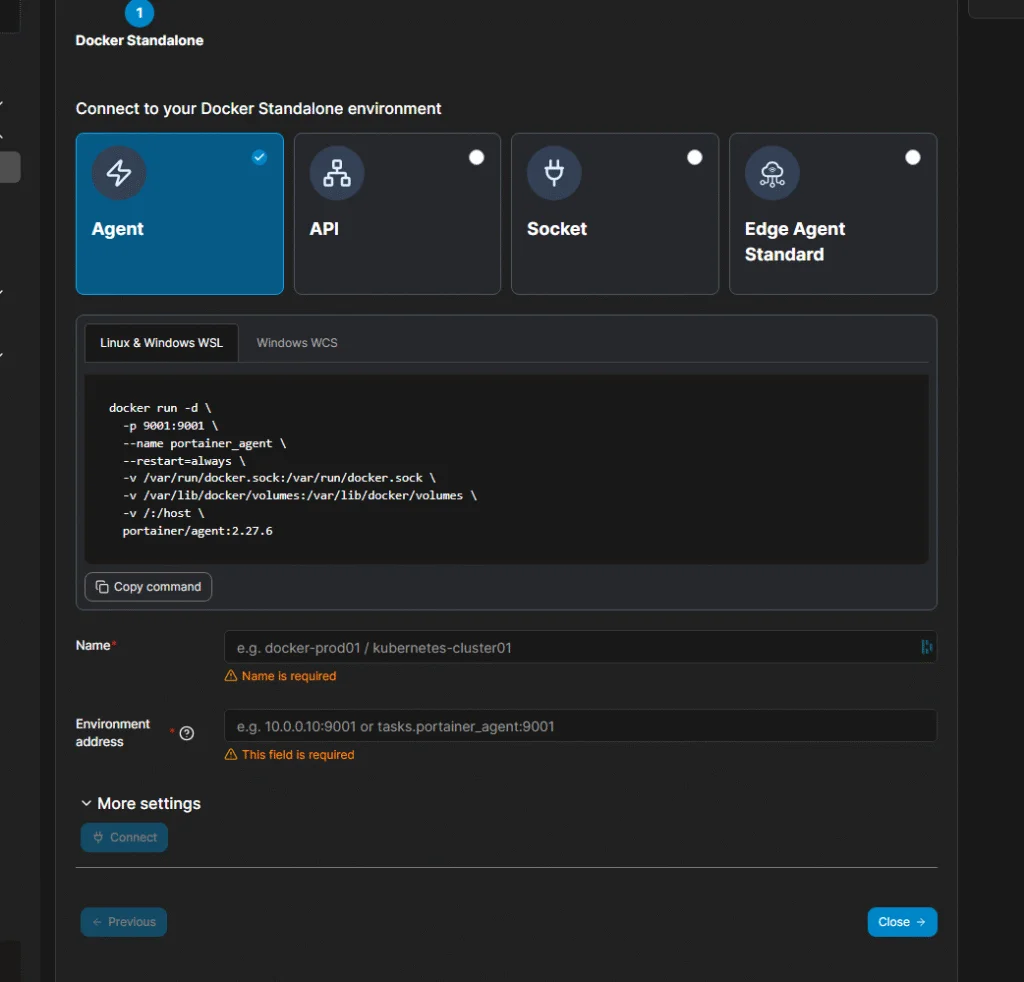
- Choose Docker Standalone
- Follow the wizard
And that’s it—you’ve now got a beautiful UI to explore, manage, and monitor your containers.
Install Ollama + Open WebUI
Finally, we’ve reached the fun part: standing up our local AI stack with Ollama and Open WebUI.
Now, there are a few ways to do this. You could install Ollama directly on your Ubuntu server—but that means handling updates and maintenance from the command line. Since we’ve already set up Portainer, why not make life easier by running everything in containers?
There’s one small challenge: Docker isolates networking by default, which can make these services harder to wire together. But there’s a simple fix—use a Docker Compose stack, and Portainer makes this incredibly easy.
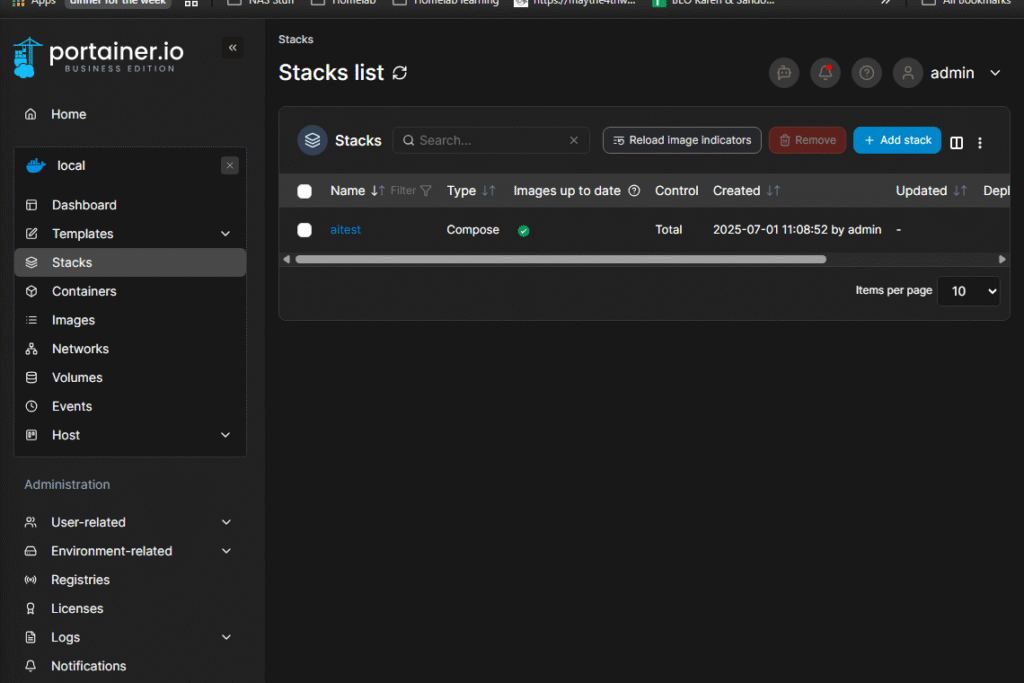
Building the Stack in Portainer
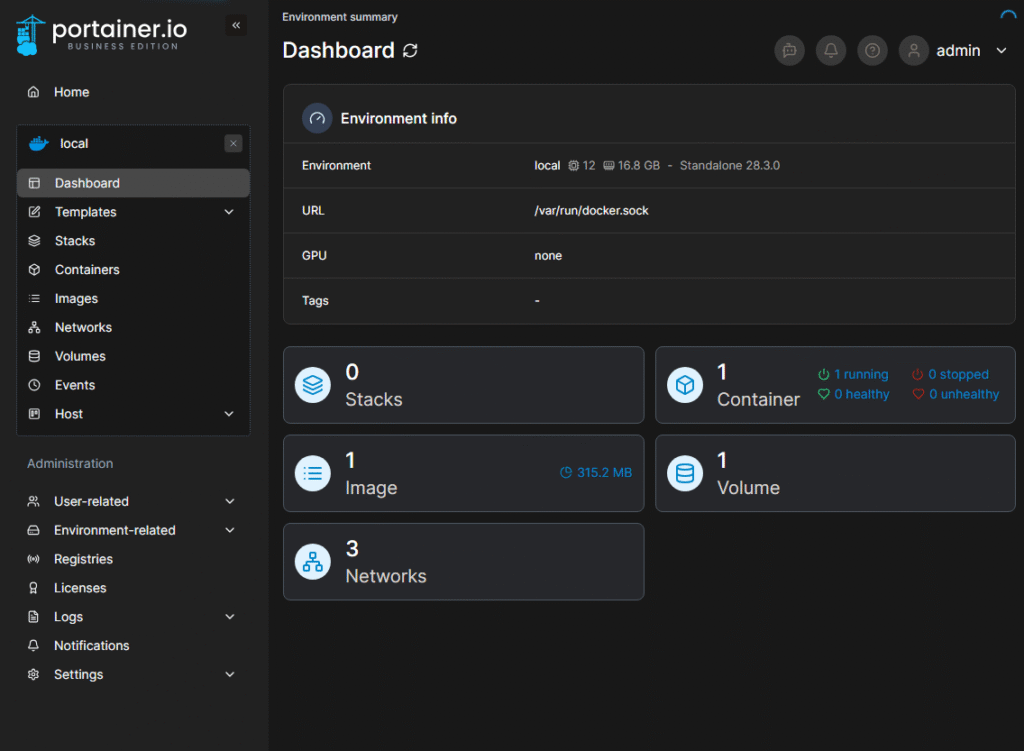
When you log into Portainer, your dashboard should look something like this:
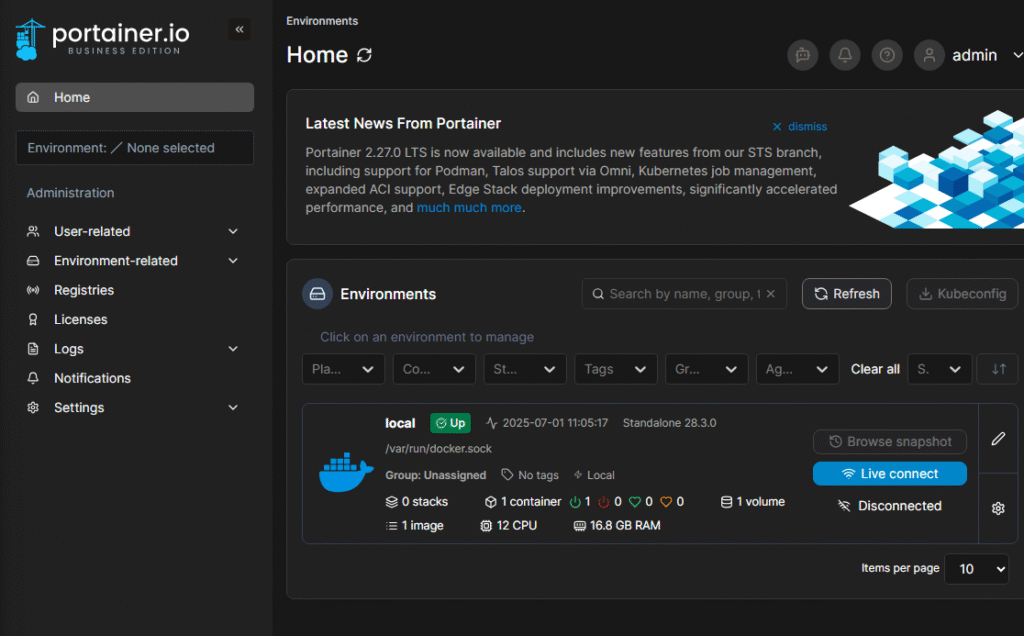
Click into your local environment:
Then go to Stacks in the left-hand menu and hit Add Stack:
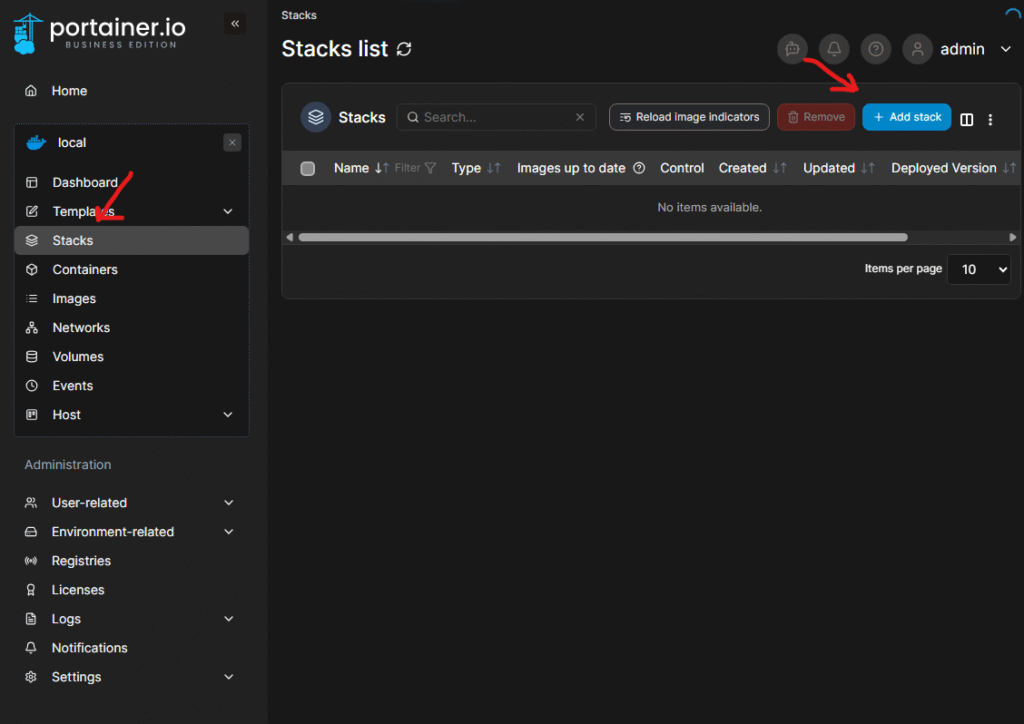
Give your stack a name and paste this configuration into the editor
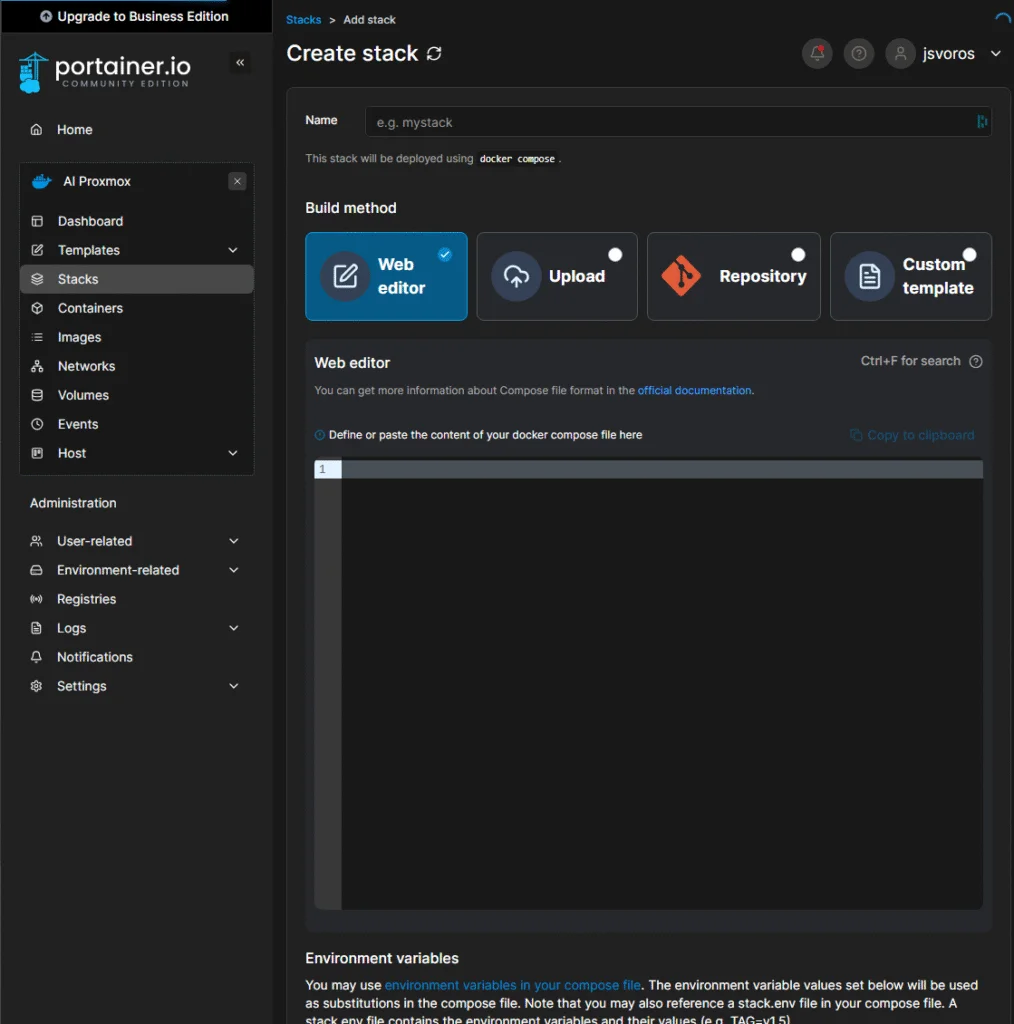
Docker Compose Config
Here’s a complete docker-compose.yaml for running both Ollama and Open WebUI together:
services:
  ollama:
    image: ollama/ollama:latest
    ports:
      - 11434:11434
    volumes:
      - ollama:/root/.ollama
    container_name: ollama2
    tty: true
    restart: unless-stopped

  open-webui:
    image: ghcr.io/open-webui/open-webui:main
    container_name: open-webui2
    volumes:
      - open-webui:/app/backend/data
    depends_on:
      - ollama
    ports:
      - 3000:8080
    environment:
      - 'OLLAMA_BASE_URL=http://ollama:11434'
      - 'WEBUI_SECRET_KEY='
    extra_hosts:
      - host.docker.internal:host-gateway
    restart: unless-stopped

volumes:
  ollama: {}
  open-webui: {}
This stack:
- Maps Ollama to port
11434and persists its data - Spins up Open WebUI with a dependency on Ollama
- Sets up environmental variables and basic volume mounts
- Restarts containers automatically unless stopped
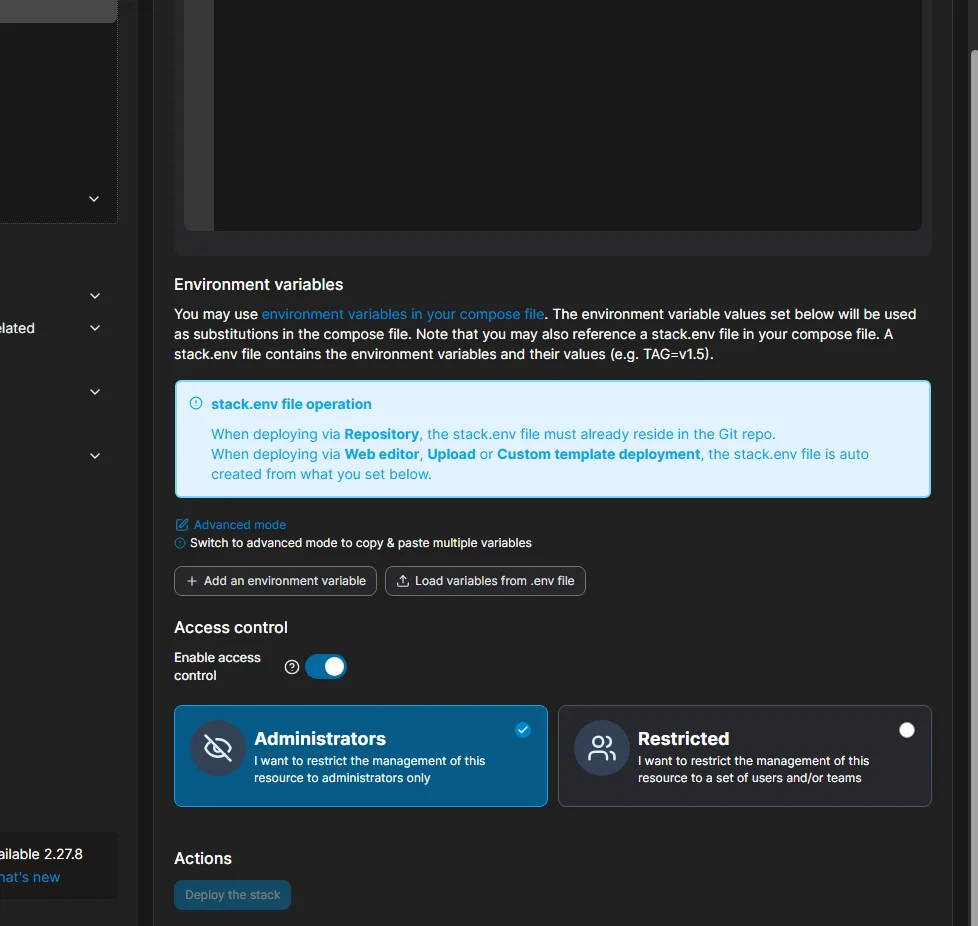
Click Deploy the stack:
Give it a minute—Docker needs to download the images. When finished, you’ll see a screen like this:
First Login to Open WebUI
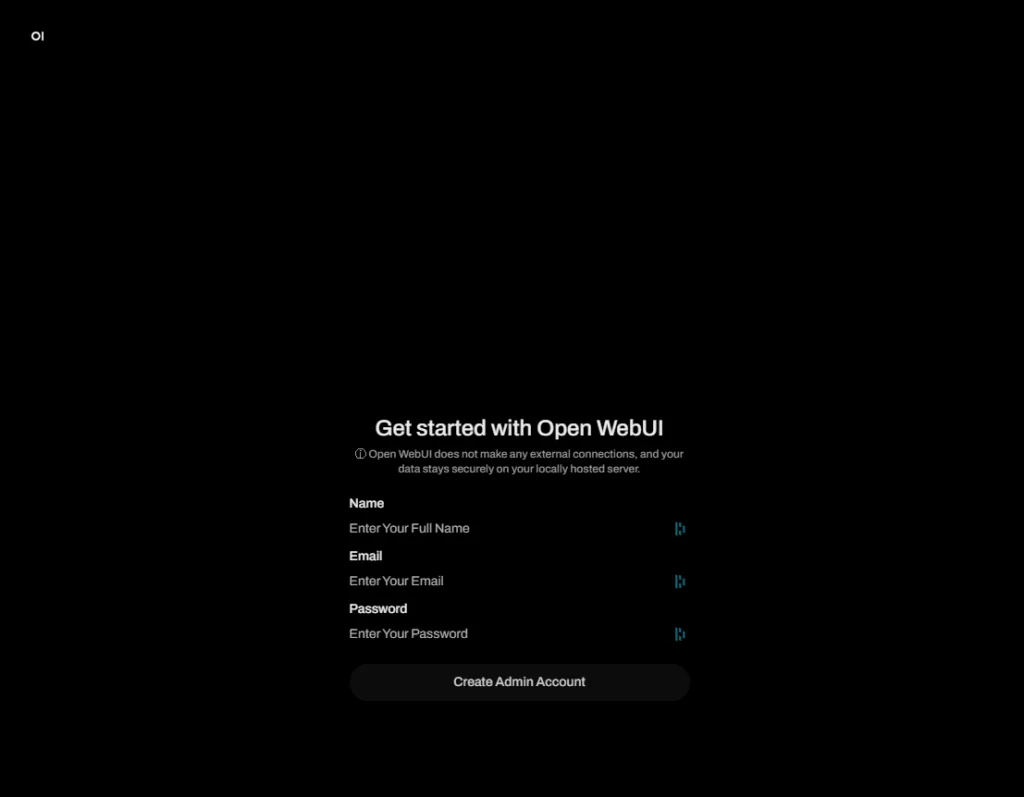
Navigate to your server’s IP on port 3000. You should land on the Open WebUI welcome screen:
Click Get Started to create your admin account:

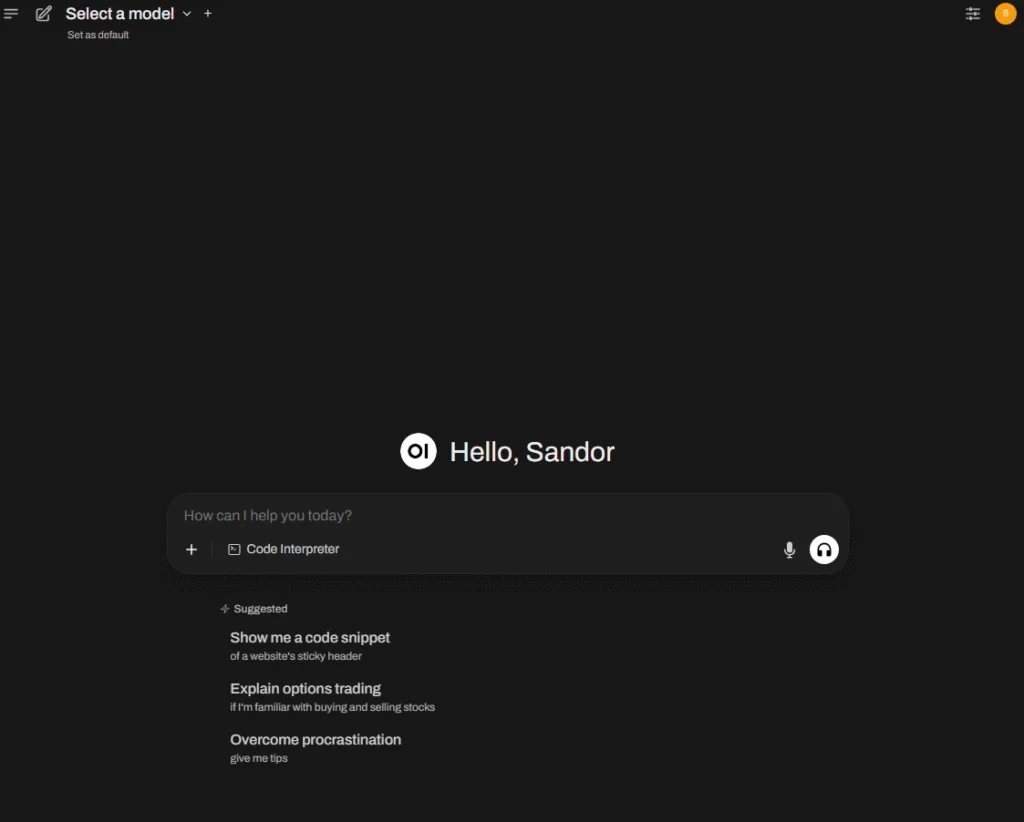
Once that’s done… ta-da! You now have a functioning local AI interface—albeit one that doesn’t know anything yet:
Pulling Your First Model
Click the hamburger menu (☰), then your username:
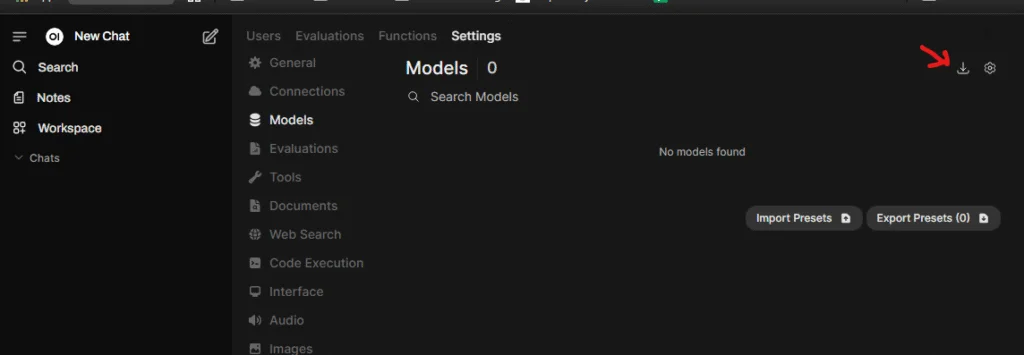
Now head to the Admin Panel,
and from the top tab bar, click Settings → Models:
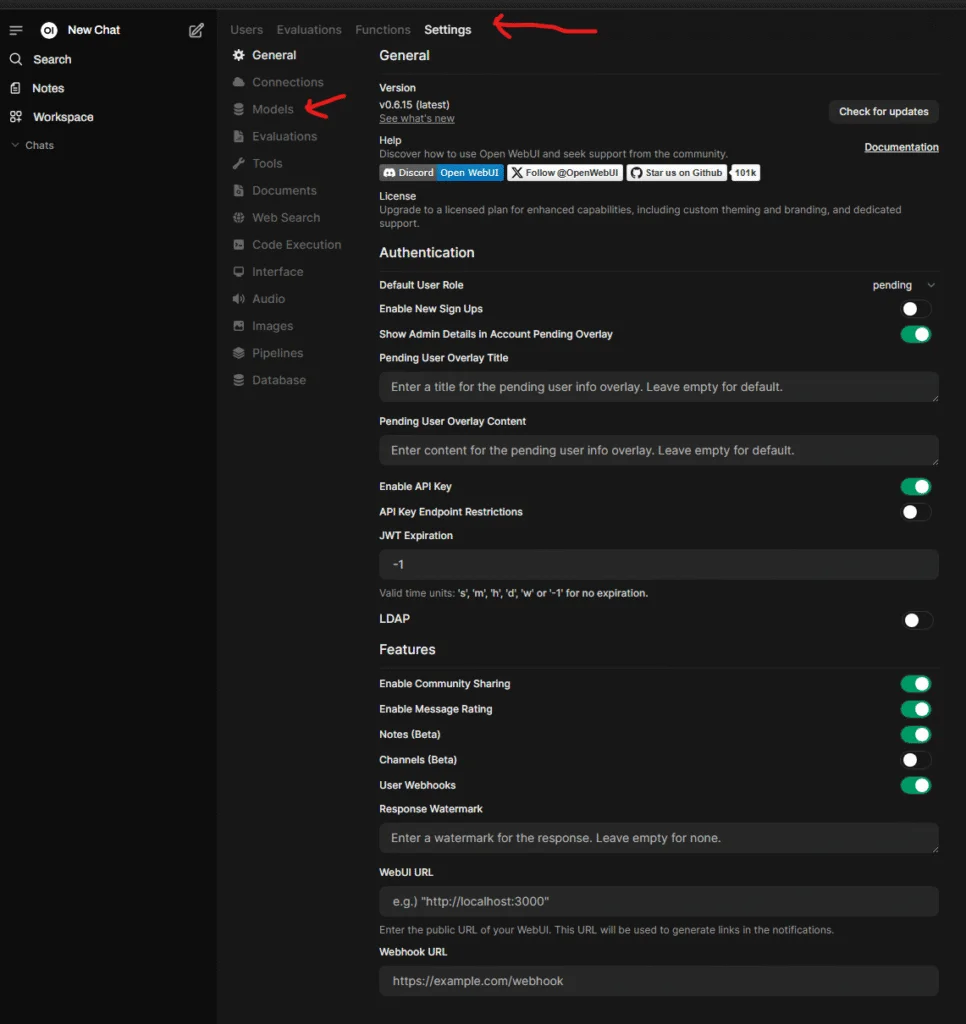
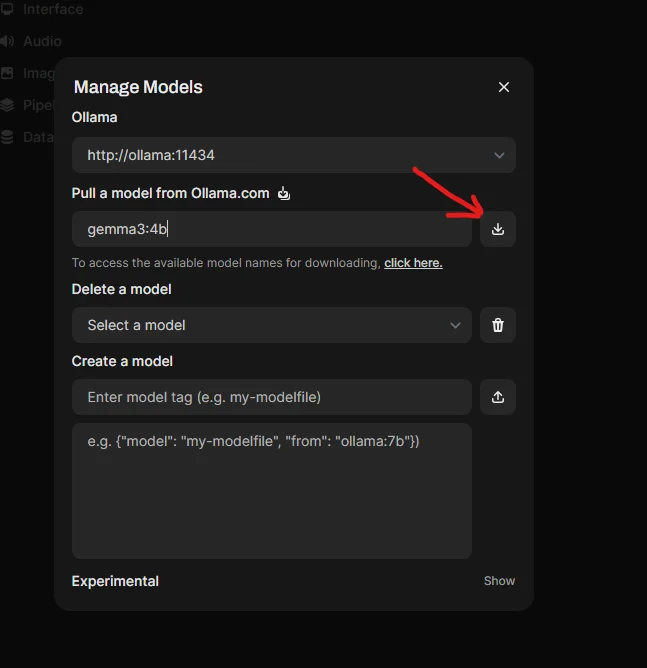
Manage models
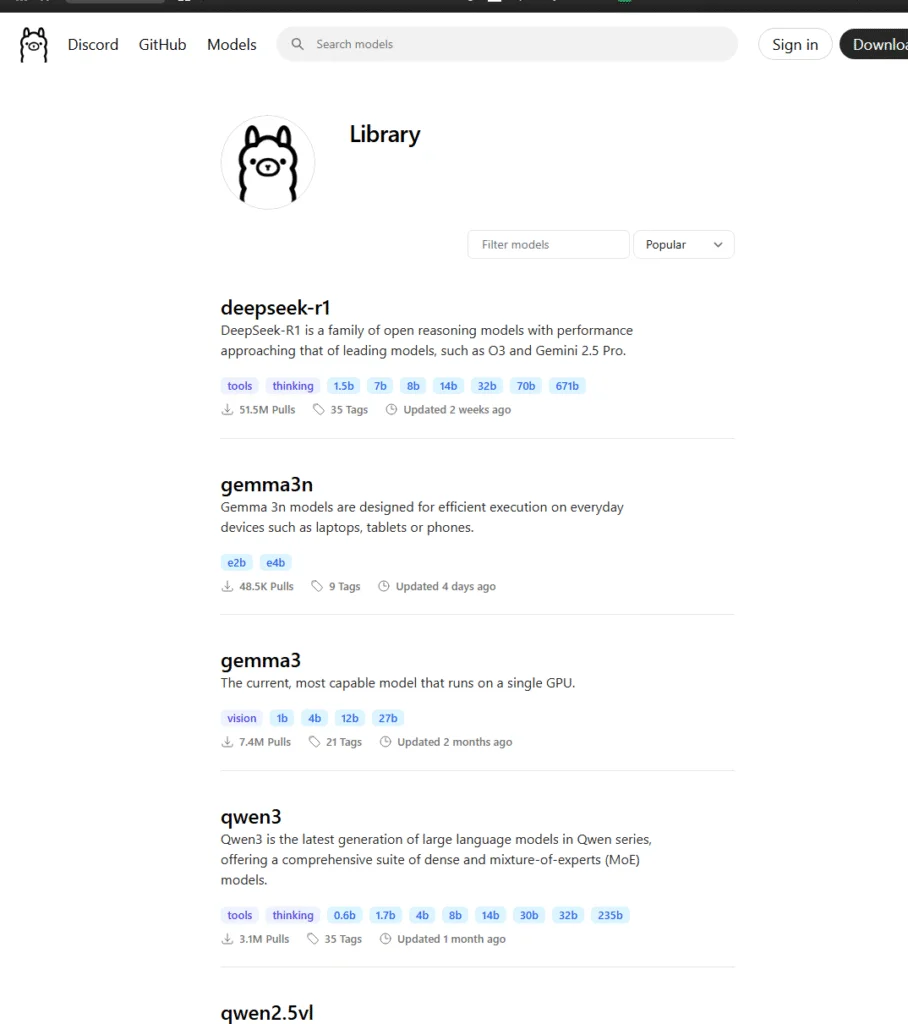
You’ll be able to search available models:
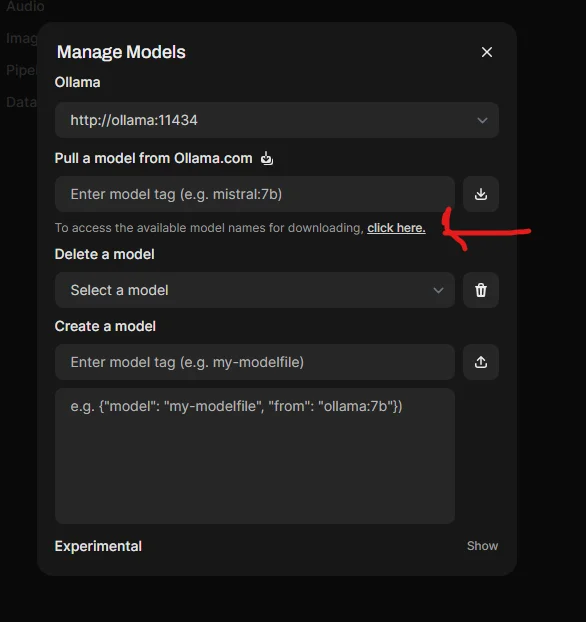
Model search
⚠️ Tip: If you’re running CPU-only, stick with models 8B or smaller for better performance. In this guide, I chose gemma3:4b.
Click it, copy the tag,
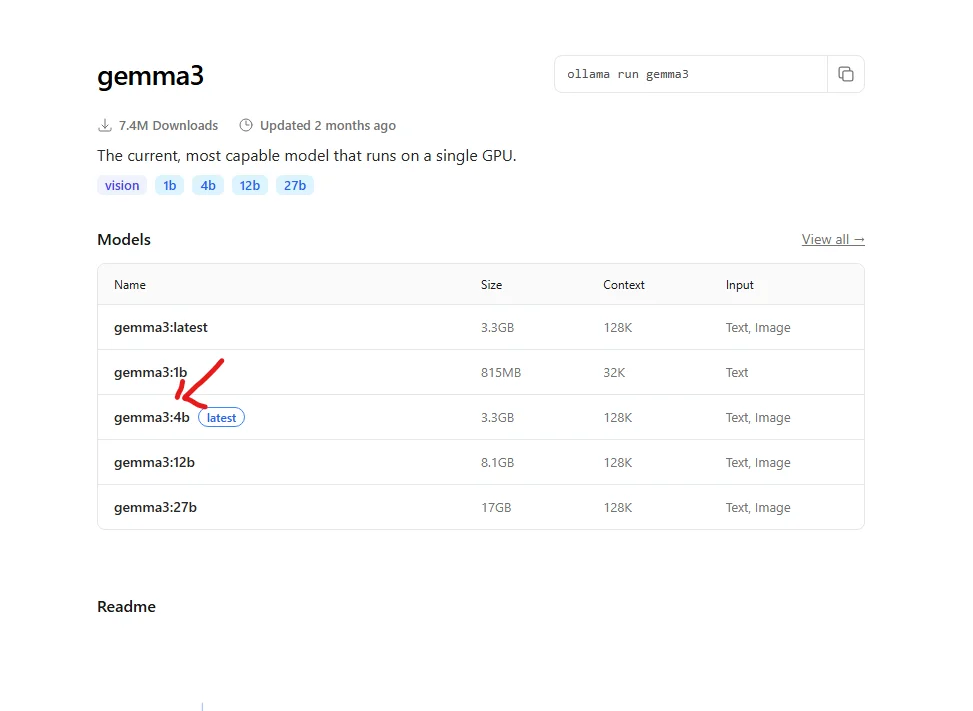
and paste it into the pull field
Chat with Your AI
Once the model finishes downloading, click New Chat. You’ll see the selected model listed, and now…
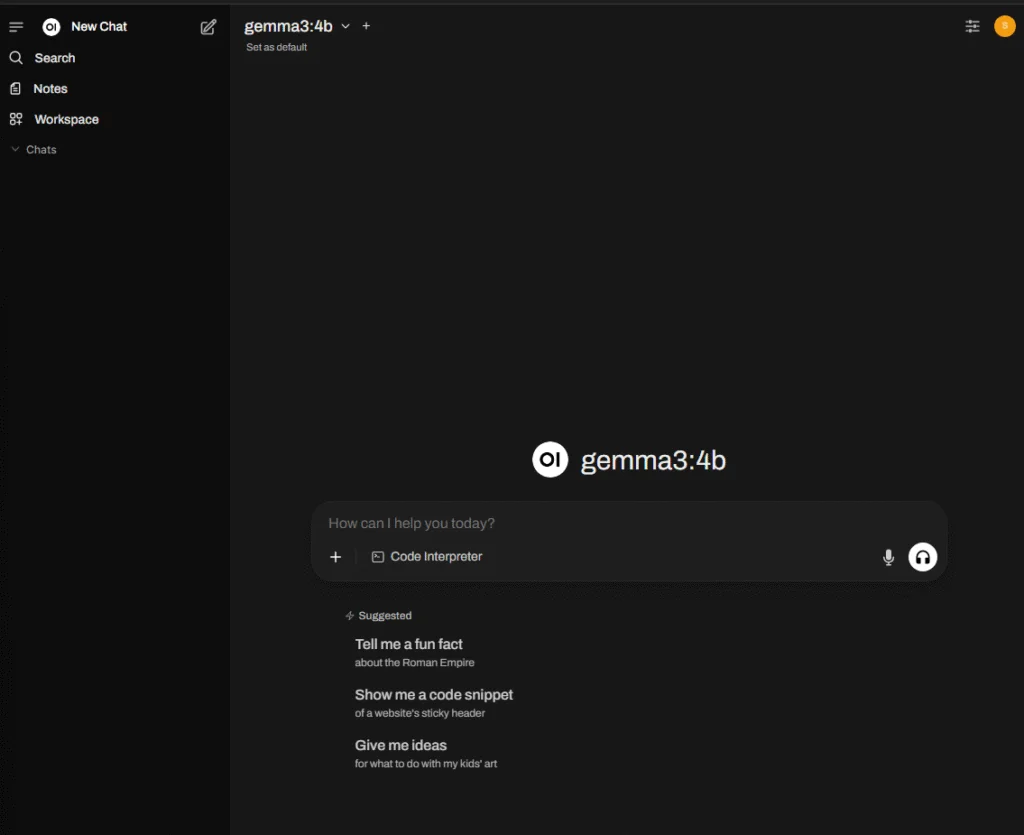
ask away:
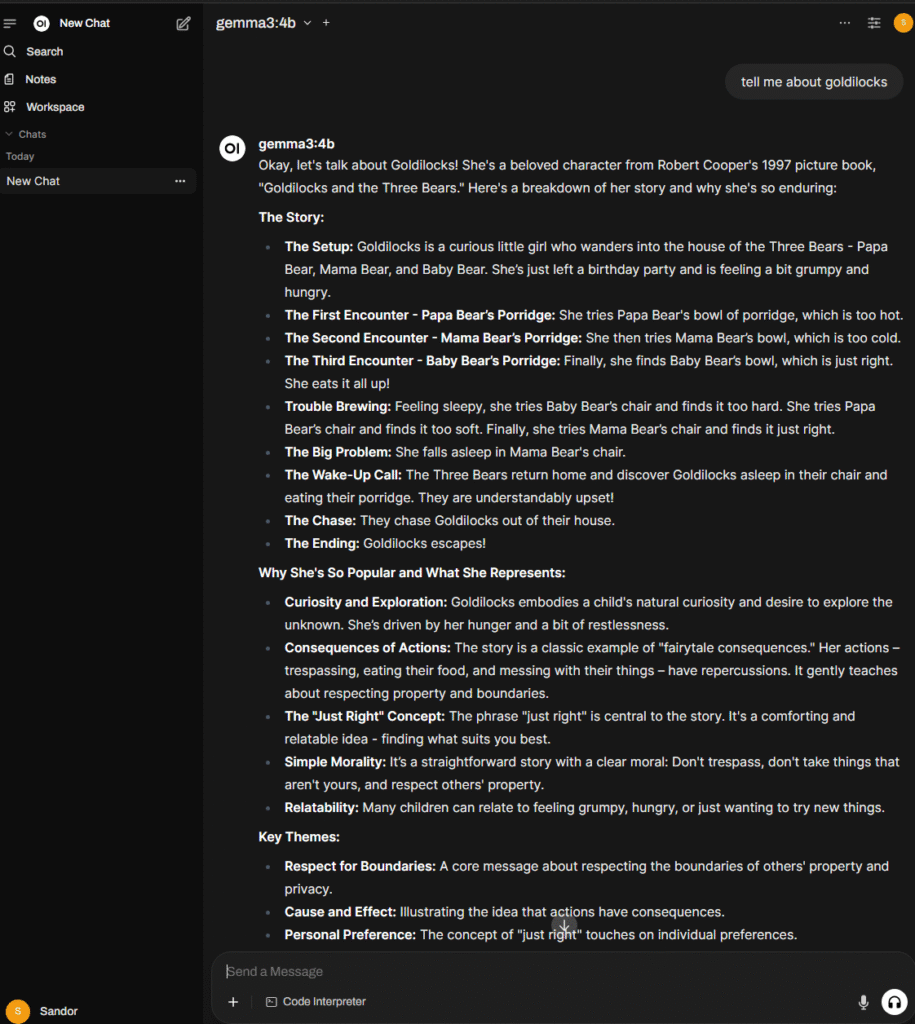
You’re officially hosting your own LLM. 😎
There’s a lot more this setup can do—but I’ll save that for another post. For now, we’re ready to dive into some optional magic in the next step: external access with Cloudflare.
Optional: Secure Access Anywhere with Cloudflare
If you’re happy keeping everything local, you can absolutely stop here. You’ve now got a fully functional AI interface running entirely on your own hardware—no cloud dependencies, no subscriptions, no phoning home.
But if you’re like me, you want to use your AI assistant from anywhere. That means exposing it to the internet—securely—and doing it in a way that feels both safe and slick.
Enter Cloudflare.
Cloudflare can help you:
- Assign a subdomain (like
ai.mydomain.com) to your local instance - Handle HTTPS encryption (no manual certs!)
- Tunnel through NAT/firewalls without port forwarding
- Add extra protection like WAF, rate limiting, and access rules
You’ll need a domain name (those usually cost a few bucks a year), but most of the Cloudflare services we’ll use are free.
I won’t reinvent the wheel here—Network Chuck has a fantastic video that walks through this exact setup:
EXPOSE your home network to the INTERNET!! (it’s safe).
It’s how I learned to do it, and honestly, it’s super approachable even if you’ve never touched DNS or tunneling before.
So…Now What?
That brings us to the end of this tutorial—but hopefully just the beginning of your local AI adventure.
You’ve built something powerful, personal, and privacy-respecting. And if you’ve got a GPU lying around, you’re just scratching the surface of what’s possible.
Want to try:
- Building a chatbot trained on your docs?
- Creating your own local RAG pipeline?
- Running multimodal AI with image input?
There’s so much more ahead. But for now…
Go forth, friends—and happy tinkering.
